Find a light source with a job
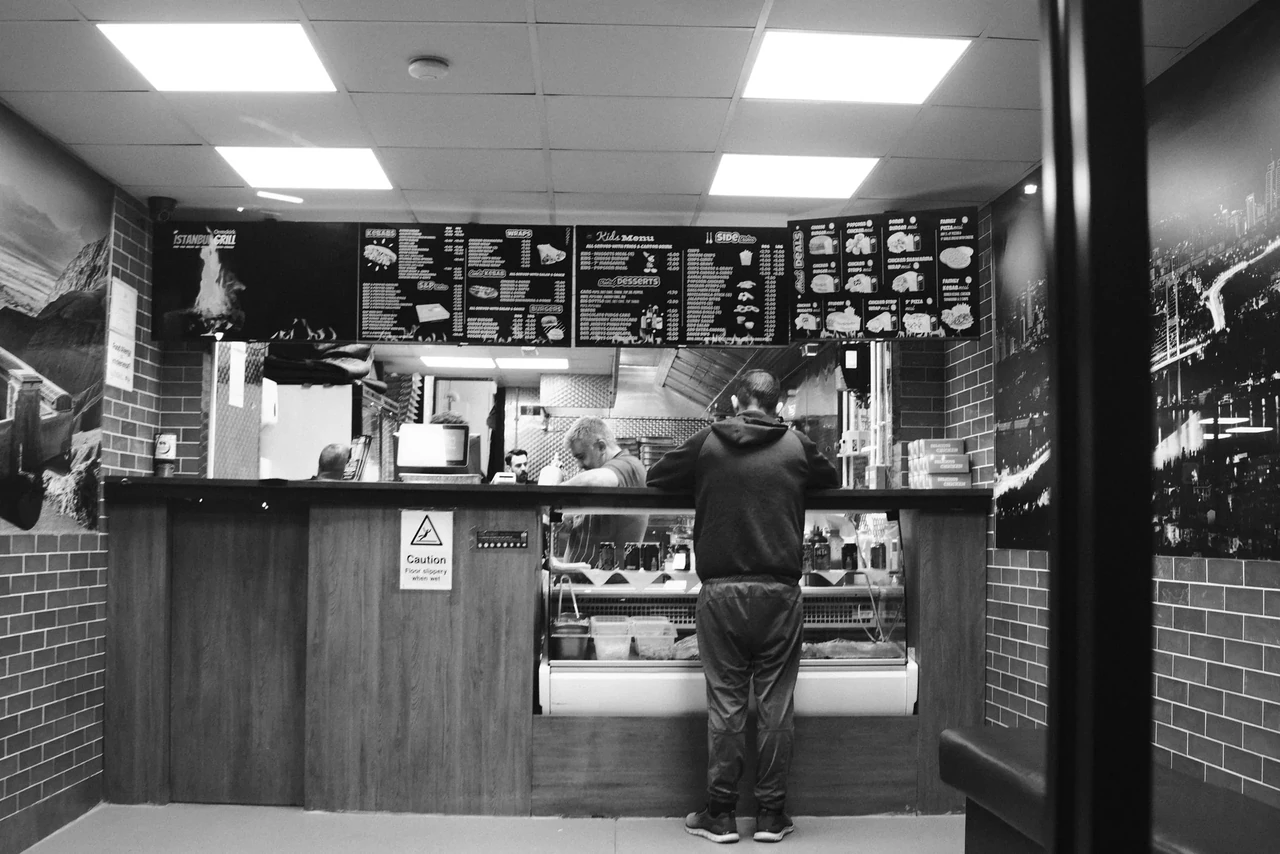
At a takeaway counter, the light belongs to a transaction. On a platform, it helps describe waiting and arrival. These are more specific starting points than “moody urban night”. Look for what the light reveals and what that revealed space is used for.
In these photographs, bright surfaces and lamps give the viewer bearings. You do not need to read every corner to understand a person standing at a counter or a train approaching through a tunnel. The unlit parts can remain unlit.
Light with somewhere to go
The illuminated counter creates a small stage. The person standing there gives that light a scale and a reason to matter. Look at the bright rectangles around them and decide which one pulls your eye first. This is a useful exercise in hierarchy, not an invitation to lift every shadow.
At the Takeaway Counter · Photograph © Mark C GrantLet the frame tell you what matters
Start by looking at the photographs as arrangements of light shapes. Which shape reaches you first? Where does your eye go next? Then read the scene. If the brightest object is irrelevant to the picture, changing your position may help more than fighting it later with an adjustment brush.
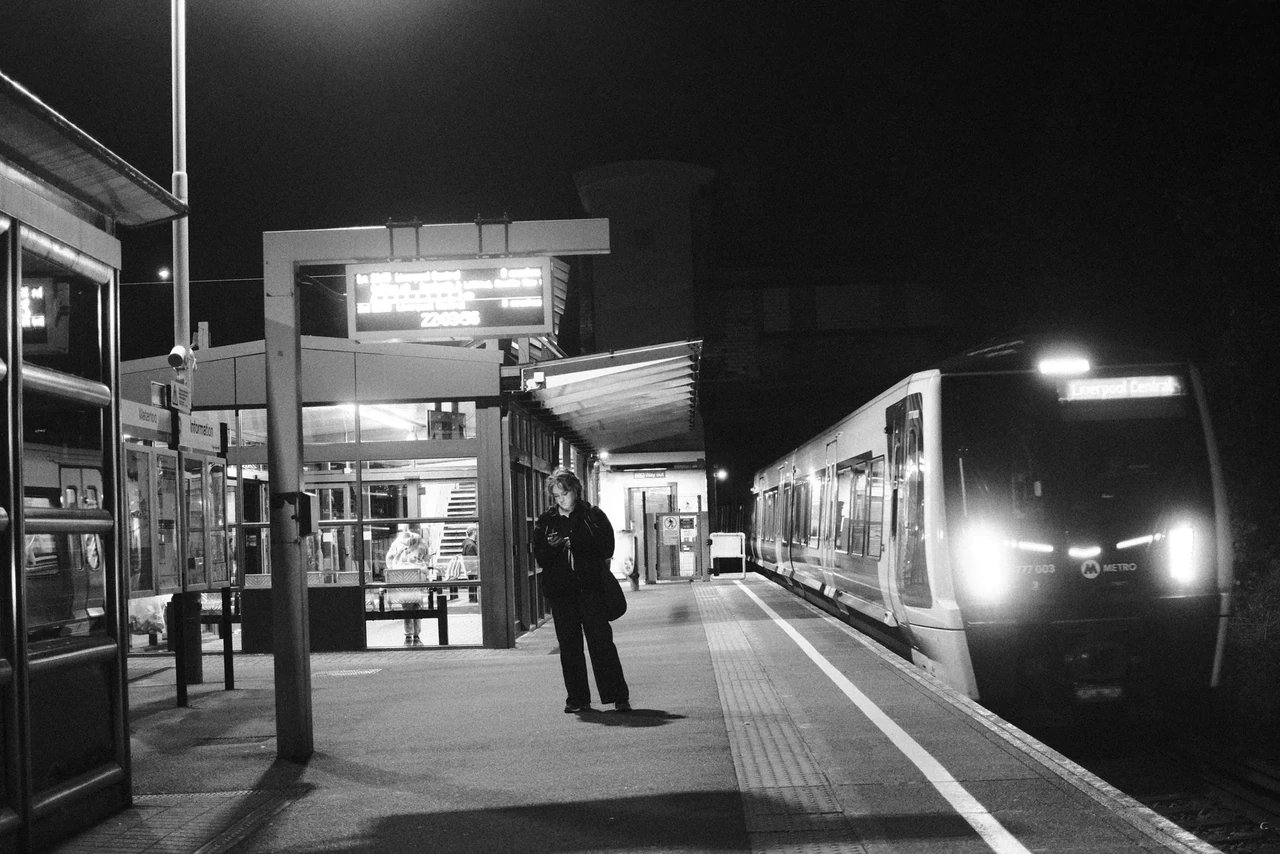
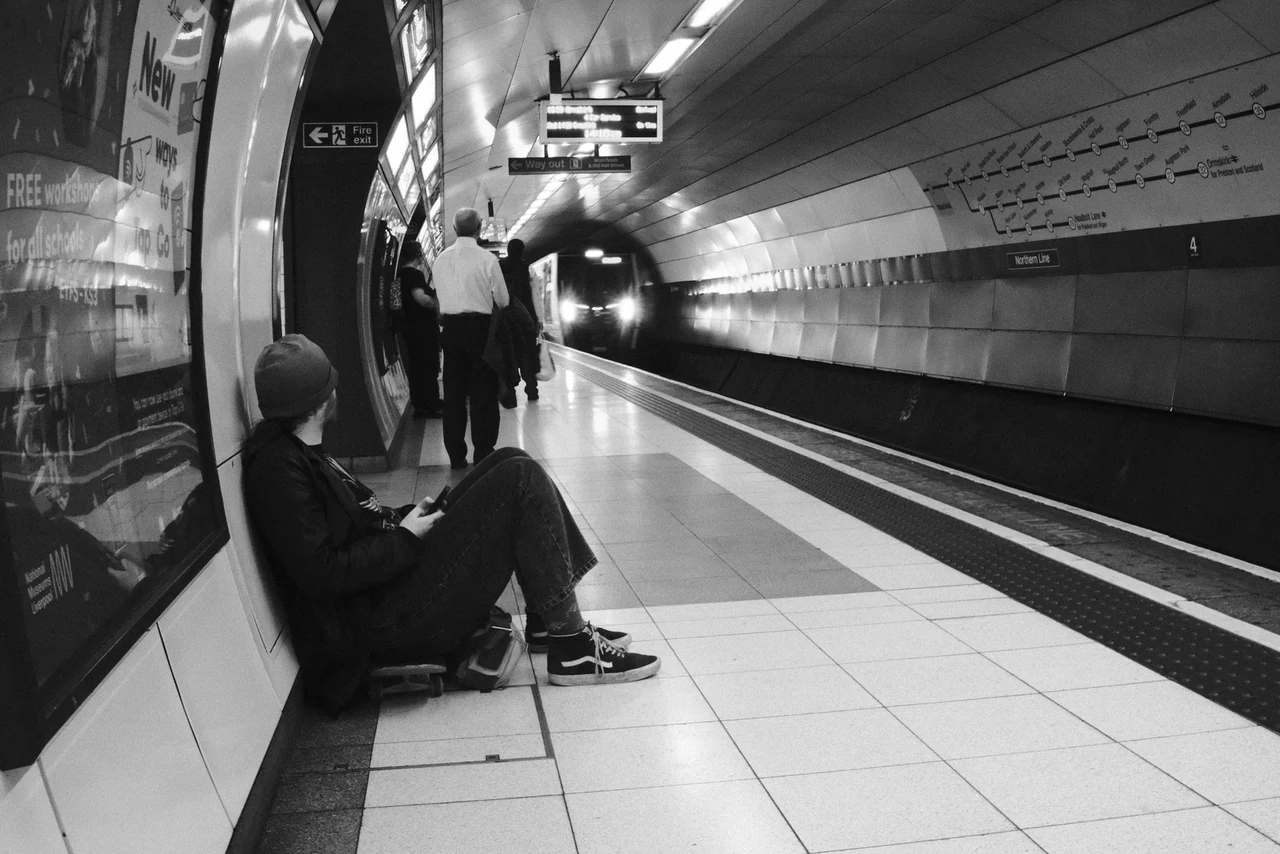
The person at the counter is surrounded by bright rectangles. The passenger at Moorfields is connected to the approaching train by platform lines. In Train Arriving at Night, a small number of lights keep the darker space intelligible. Each frame has a different structure; one universal “night look” would flatten those differences.
A still figure, an approaching light
The seated passenger and the approaching train set up different kinds of time. One holds still while the other advances. The platform lines connect them. Notice how little information the dark tunnel needs to contain: the approaching light already gives that darkness a purpose.
Waiting at Moorfields · Photograph © Mark C GrantSeparate the edit from the missing information
Raising a shadow can reveal detail that was recorded. It cannot guarantee useful detail that was never there. Inspect the file, keep your adjustments reversible and decide how much the picture needs to say. Some photographs become weaker when every surface is equally available.
These are visual readings of the published frames, not recovered exposure notes. The original shutter speeds, apertures and focusing choices are not asserted here. Use your own test frames to learn the limits of your camera, then spend your attention on the light rather than on proving you can see in the dark.
Practical guidance from Captured Moment. Starting points to test in your own work, not universal camera settings.
Take this to the discussion.
A question, an example, a picture that proves us wrong. Specific beats loud.
Open the conversation ↗