Name the movement
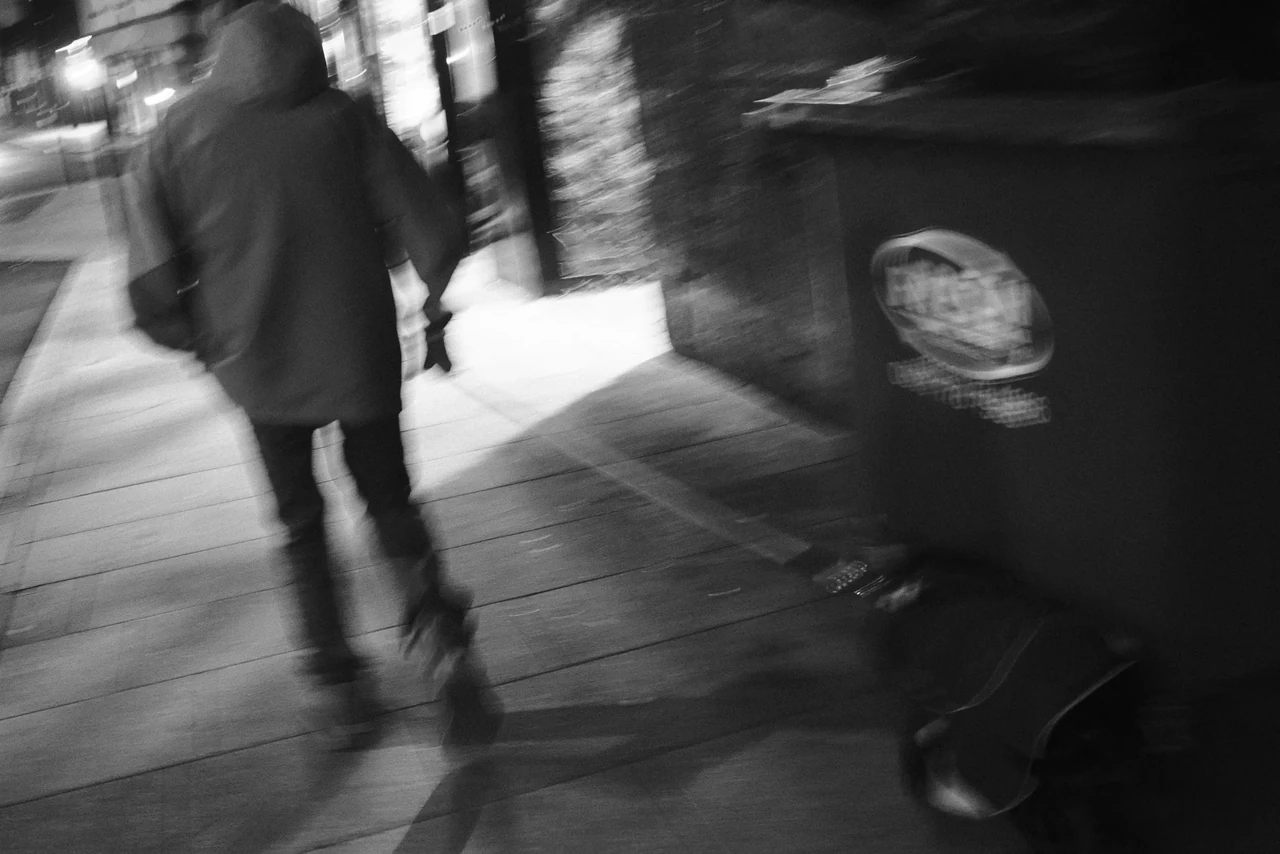
Camera movement, subject movement and missed focus create different kinds of softness. A moving subject may streak across a stable background. A moving camera can drag the whole scene. Missed focus changes the way edges resolve without necessarily describing a direction. Look at the file and work out which happened.
None of these is automatically a failure. But calling everything “raw” can become a very comfortable hiding place. Decide what you wanted the softness to do: suggest speed, make a crowd feel unstable, loosen a rigid scene or shift attention from description to atmosphere.
Follow the rails
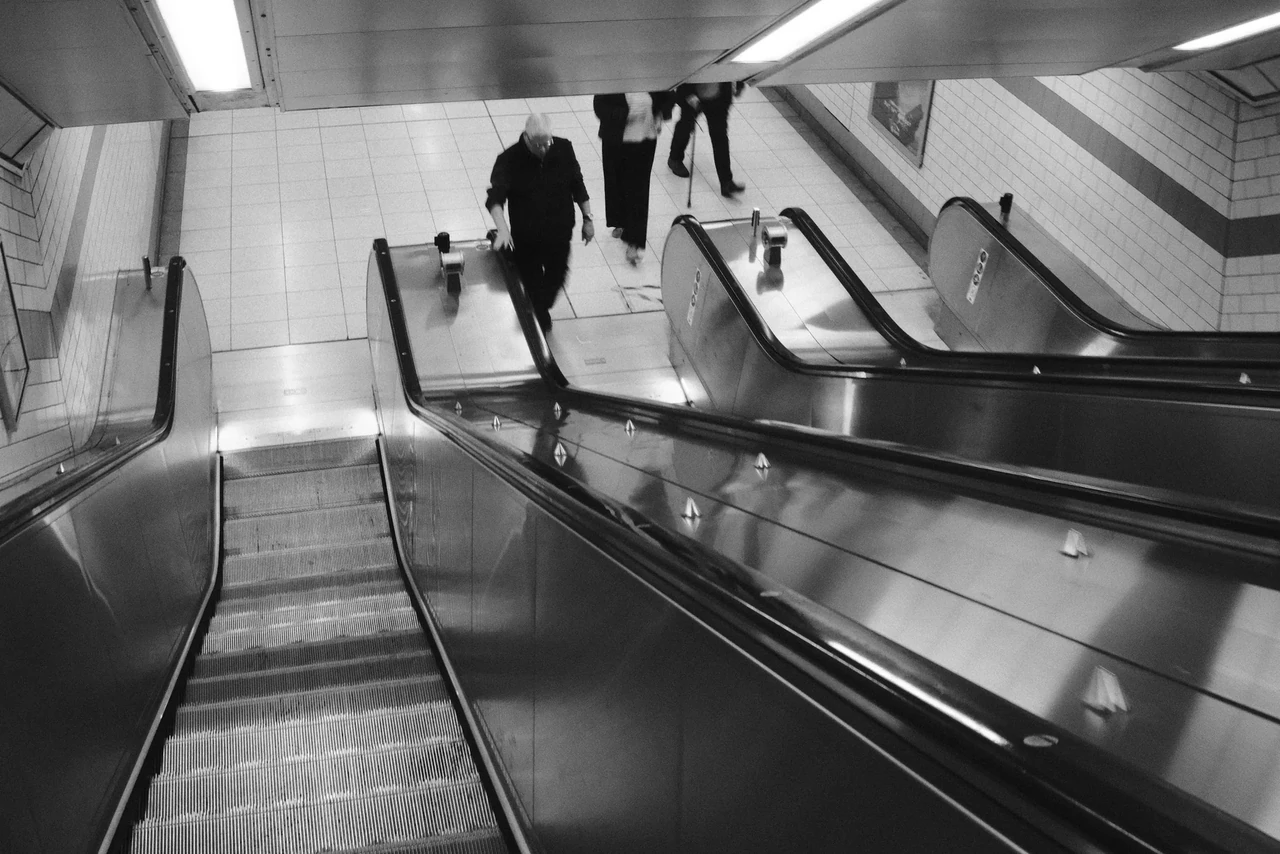
The diagonal rails give the eye several routes through the frame. Small figures make those routes legible as movement through a building, not just a pattern. Trace one diagonal to its end, then notice how another brings you back. A picture can be busy and still have an order.
Descending the Escalators · Photograph © Mark C GrantGive the eye something to hold
An image with movement often benefits from one convincing anchor: a silhouette, a repeated shape, a recognisable direction or a patch of clear tonal separation. That anchor need not be tack sharp. It needs to make the frame legible enough to sustain looking.
Try a slow-shutter exercise with a stationary camera position and movement passing through it. Then try following the moving subject. Review how the two approaches describe space differently. Keep out of traffic and do not step backwards into someone else’s route while staring through the finder.
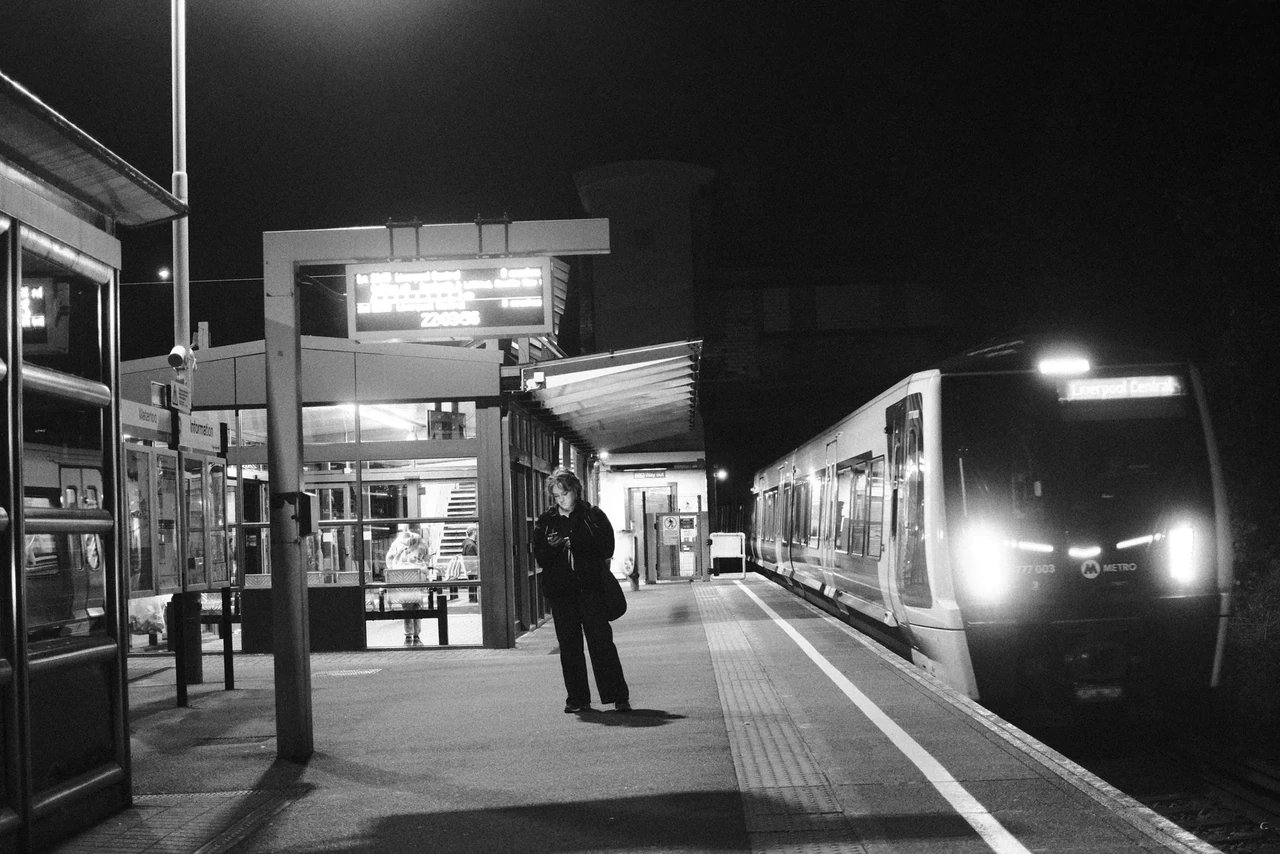
A few bright points carry the scene
Headlights and platform lights give you bearings in a largely dark picture. The figure supplies scale. Try reading it first as three or four light shapes, then as a railway scene. Night photography does not require every shadow to be explained.
Train Arriving at Night · Photograph © Mark C GrantMake a controlled comparison
Photograph the same kind of movement at several shutter speeds. There is no single magic fraction: speed, distance, lens and camera movement all affect the result. Make notes so a successful accident becomes a choice you can explore again.
Do not soften every file in the edit to make the set look important. Let a clear frame sit beside a rough one and see whether the contrast helps. Consistency is useful; uniformity can be numbing.
The sequence is the test
Place the blurred image in a small edit. Does it change the rhythm, add a feeling or connect two other pictures? If it only interrupts the sequence, perhaps it belongs elsewhere. A photograph does not have to describe everything, but it should contribute something.
Some experiments will be rubbish. Keep enough of them to learn, without making your audience inspect every one. That is what a contact sheet is for.
Practical guidance from Captured Moment. Starting points to test in your own work, not universal camera settings.
Take this to the discussion.
A question, an example, a picture that proves us wrong. Specific beats loud.
Open the conversation ↗