First, know which kind of window you own
A coupled optical rangefinder measures distance through a separate optical system; its central patch helps you focus the lens. An electronic viewfinder shows a sensor-derived image. A camera can have a rangefinder-shaped body without a coupled rangefinder. Learn the mechanism you actually have. The resemblance is not an instruction manual.
This course centres on optical rangefinders, but the looking, exposure and editing exercises work with other cameras. Use manual focus or autofocus as appropriate. Nobody at the finish line is checking the badge. For a camera-specific control or close-focus limit, use your own manual.
Let the wall be enormous
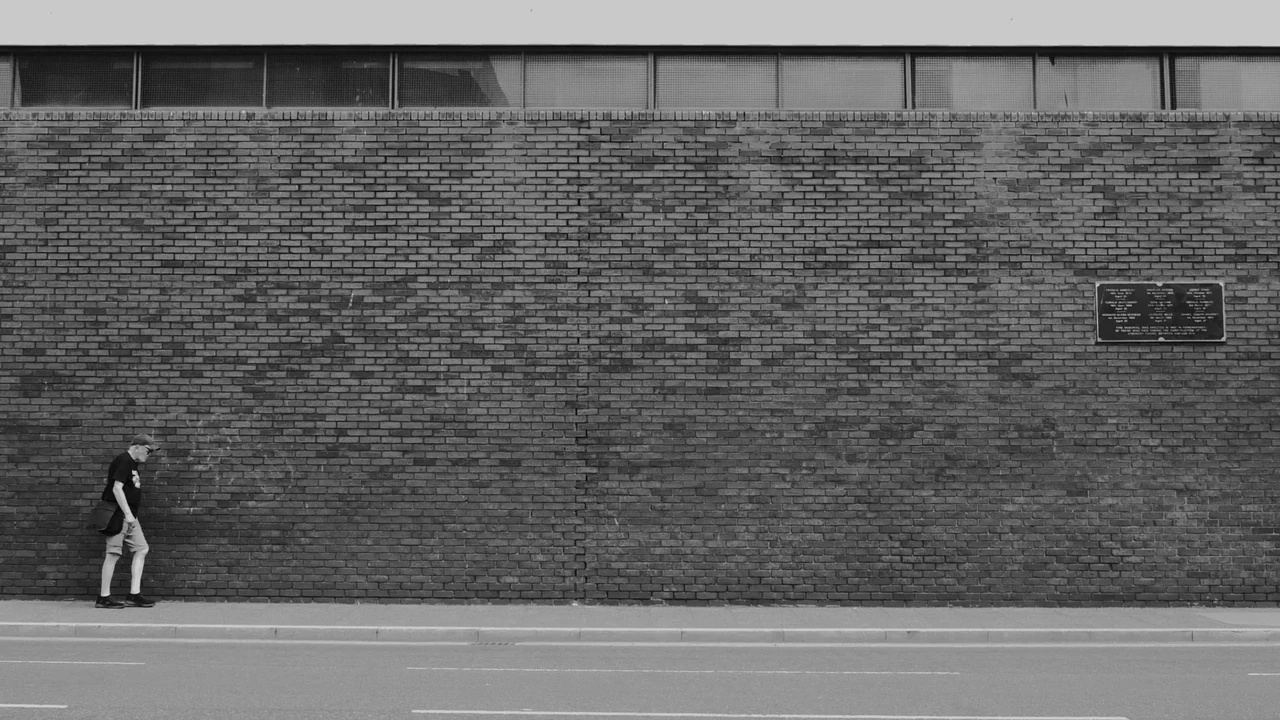
The pedestrian occupies very little of the picture. That is the point: the brickwork carries weight and the small figure measures it. A tighter crop would produce a more obvious subject, but it would also remove the relationship that makes this frame worth looking at.
Along the Brick Wall · Photograph © Mark C GrantThe frame is a decision
Pick a fixed, uncomplicated subject: a doorway, chair or corner of a building. Identify the appropriate frame lines for the lens. Make one frame, then compare its edges with what you remember seeing. Repeat close up and farther away. Keep fingers clear of the finder and rangefinder windows.
The Leica M11 manual describes automatic parallax compensation, but also small differences between its frame lines and the recorded area at different distances. That is a model-specific example, not a promise that every finder behaves identically. Leave breathing room around something you cannot afford to clip. A direct optical window also does not preview the recorded blur or exposure.
The foreground interrupts
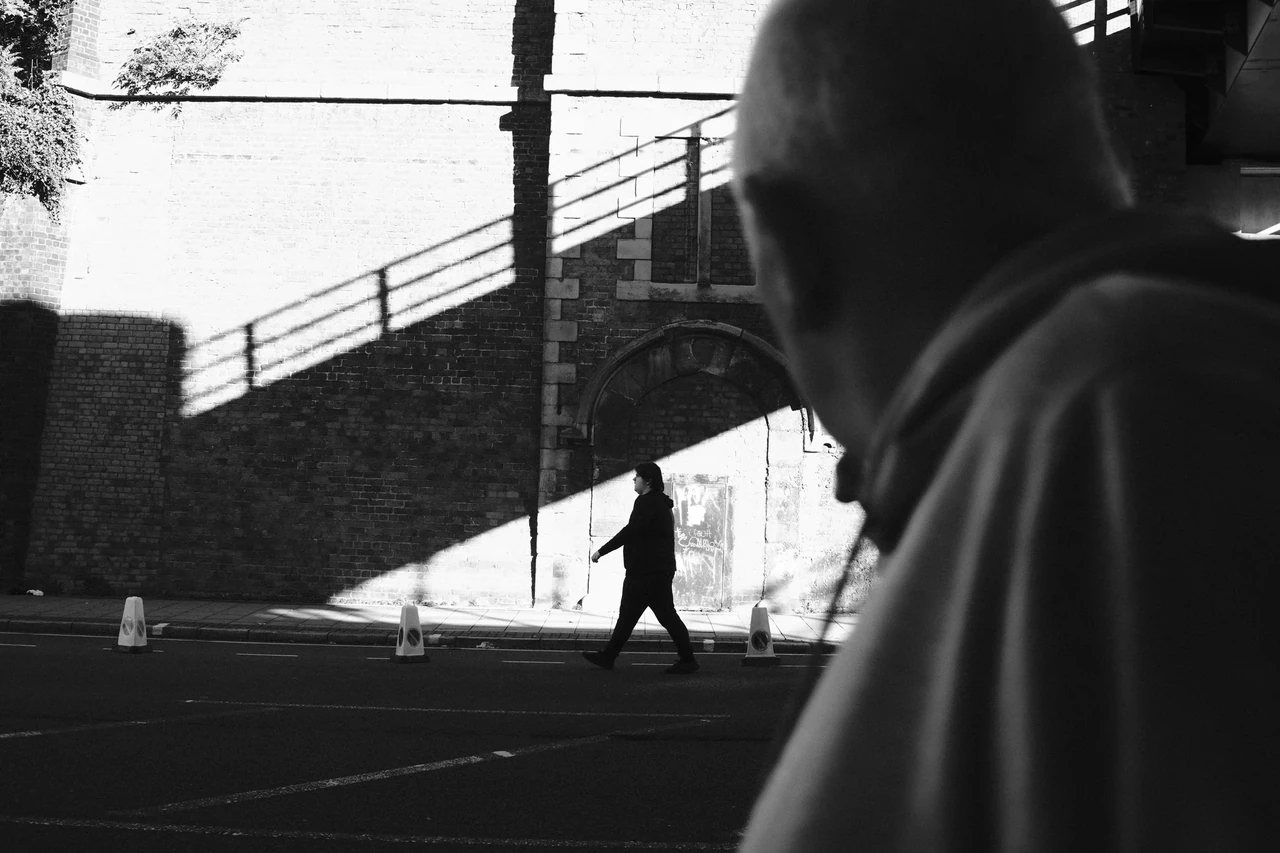
A large, partly cut-off passer-by occupies the near edge while a smaller figure crosses the bright wedge beyond. Your eye has to negotiate two distances. The interruption makes the view feel occupied. Cover the foreground briefly and notice how much tidier—and less layered—the picture becomes.
Passing through the Frame · Photograph © Mark C GrantWatch, then try
Craig Semetko: How to use a Leica M

Watch the focusing patch become one image. Then lower the camera and practise moving between a near edge and a distant edge before worrying about a photograph.
Look beyond the centre
Once you understand the boundary, inspect the scene in an order: background, subject, edges. Where does a pole meet a head? What is entering from the left? What bright patch is louder than the person? You are arranging relationships, not firing at a target.
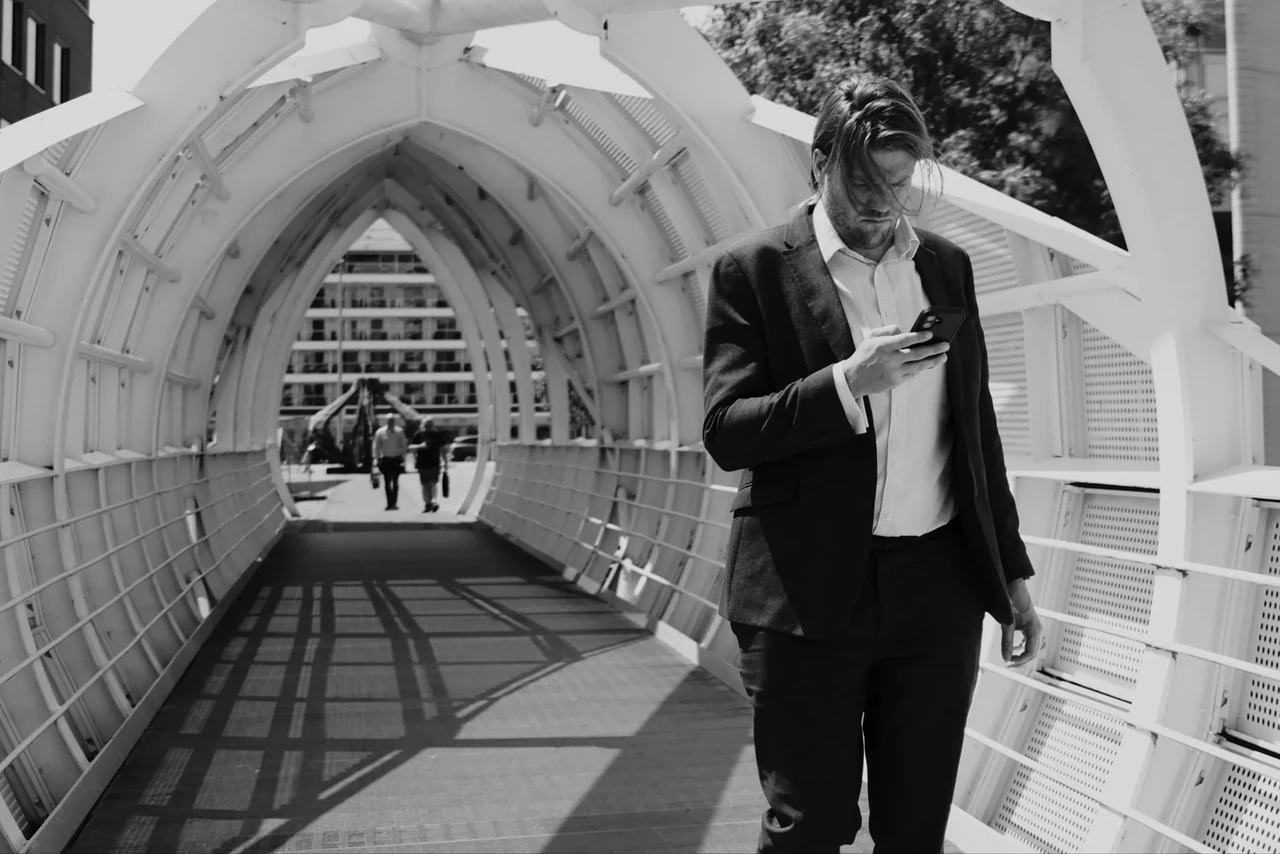
In the footbridge photograph, the architecture supplies a strong centre while the larger foreground figure sits away from it. Follow that tension. We are discussing what the photograph shows; the image does not establish which camera or focusing method made it.
Review before buying anything
Put your practice frames side by side. Mark accidental cut-offs and distracting edge mergers. Decide whether you misunderstood the finder or simply forgot to look. Those require different fixes, and neither begins with a new lens.
If you wear glasses, test whether you can see the whole useful frame comfortably. If a lens blocks part of the view, learn that obstruction using harmless static subjects. Make the equipment familiar enough that it can stop being the subject.
Review your photographs
- Can you distinguish your finder from a coupled rangefinder?
- Did the intended edges survive in at least four of six frames?
- Can you name one limitation you will allow for next time?
If it is not working yet
Repeated clipped edges: leave more room and compare finder coverage with the file. A correct edge but a dull picture is a composition problem, not a calibration diagnosis.
Sources & further looking
Facts checked 22 October 2026. The practical exercises and critical readings are this publication’s editorial interpretation.
Take this to the discussion.
A question, an example, a picture that proves us wrong. Specific beats loud.
Open the conversation ↗