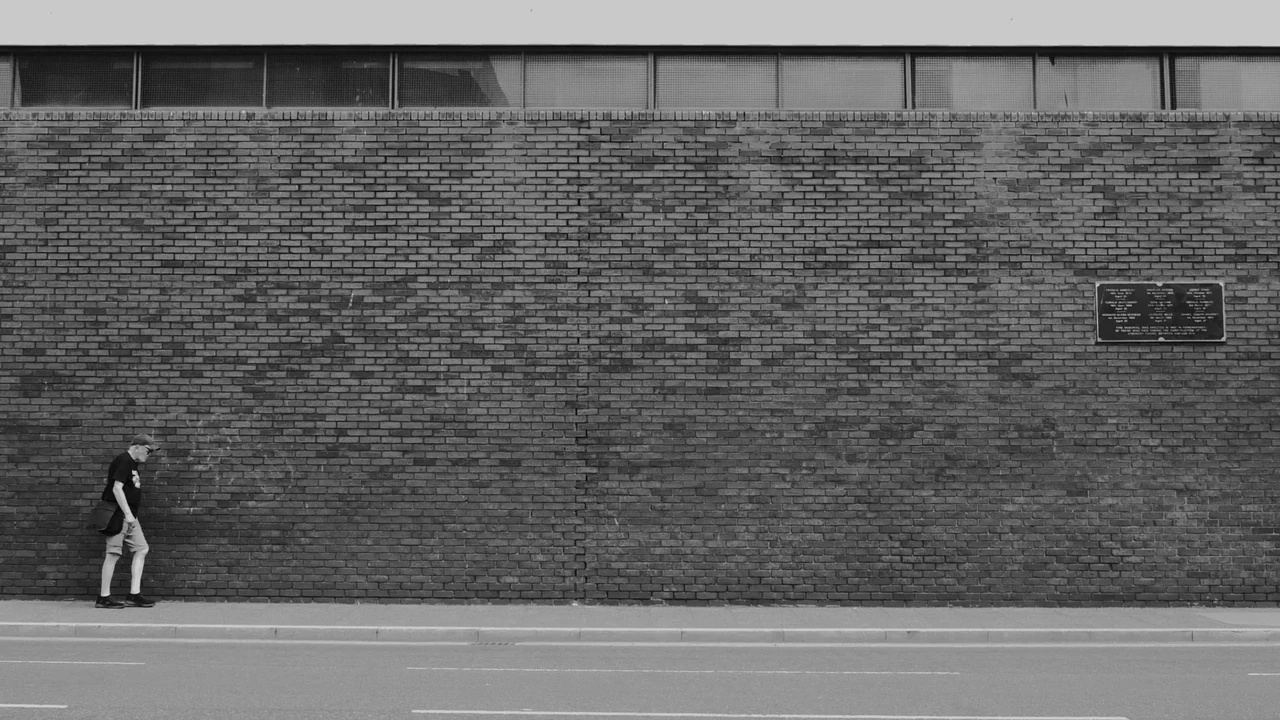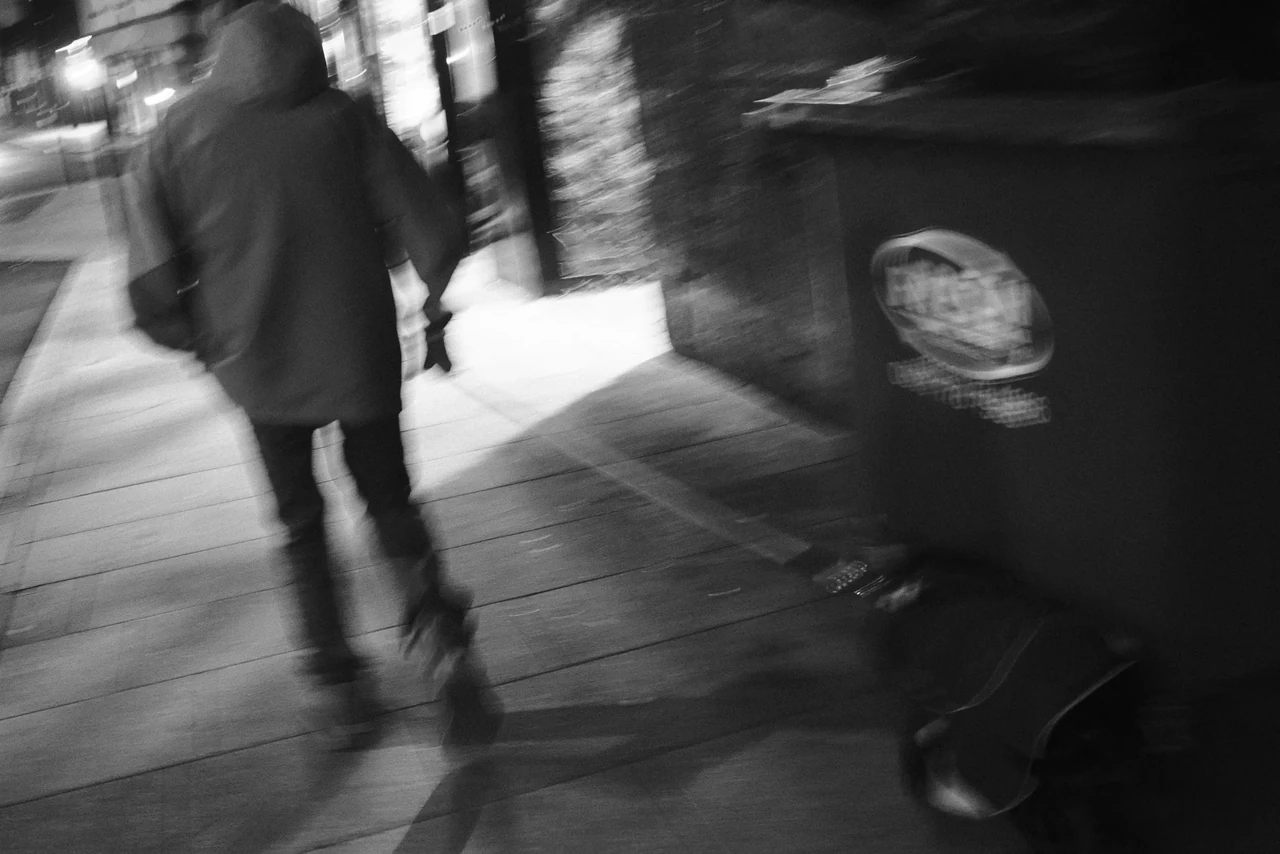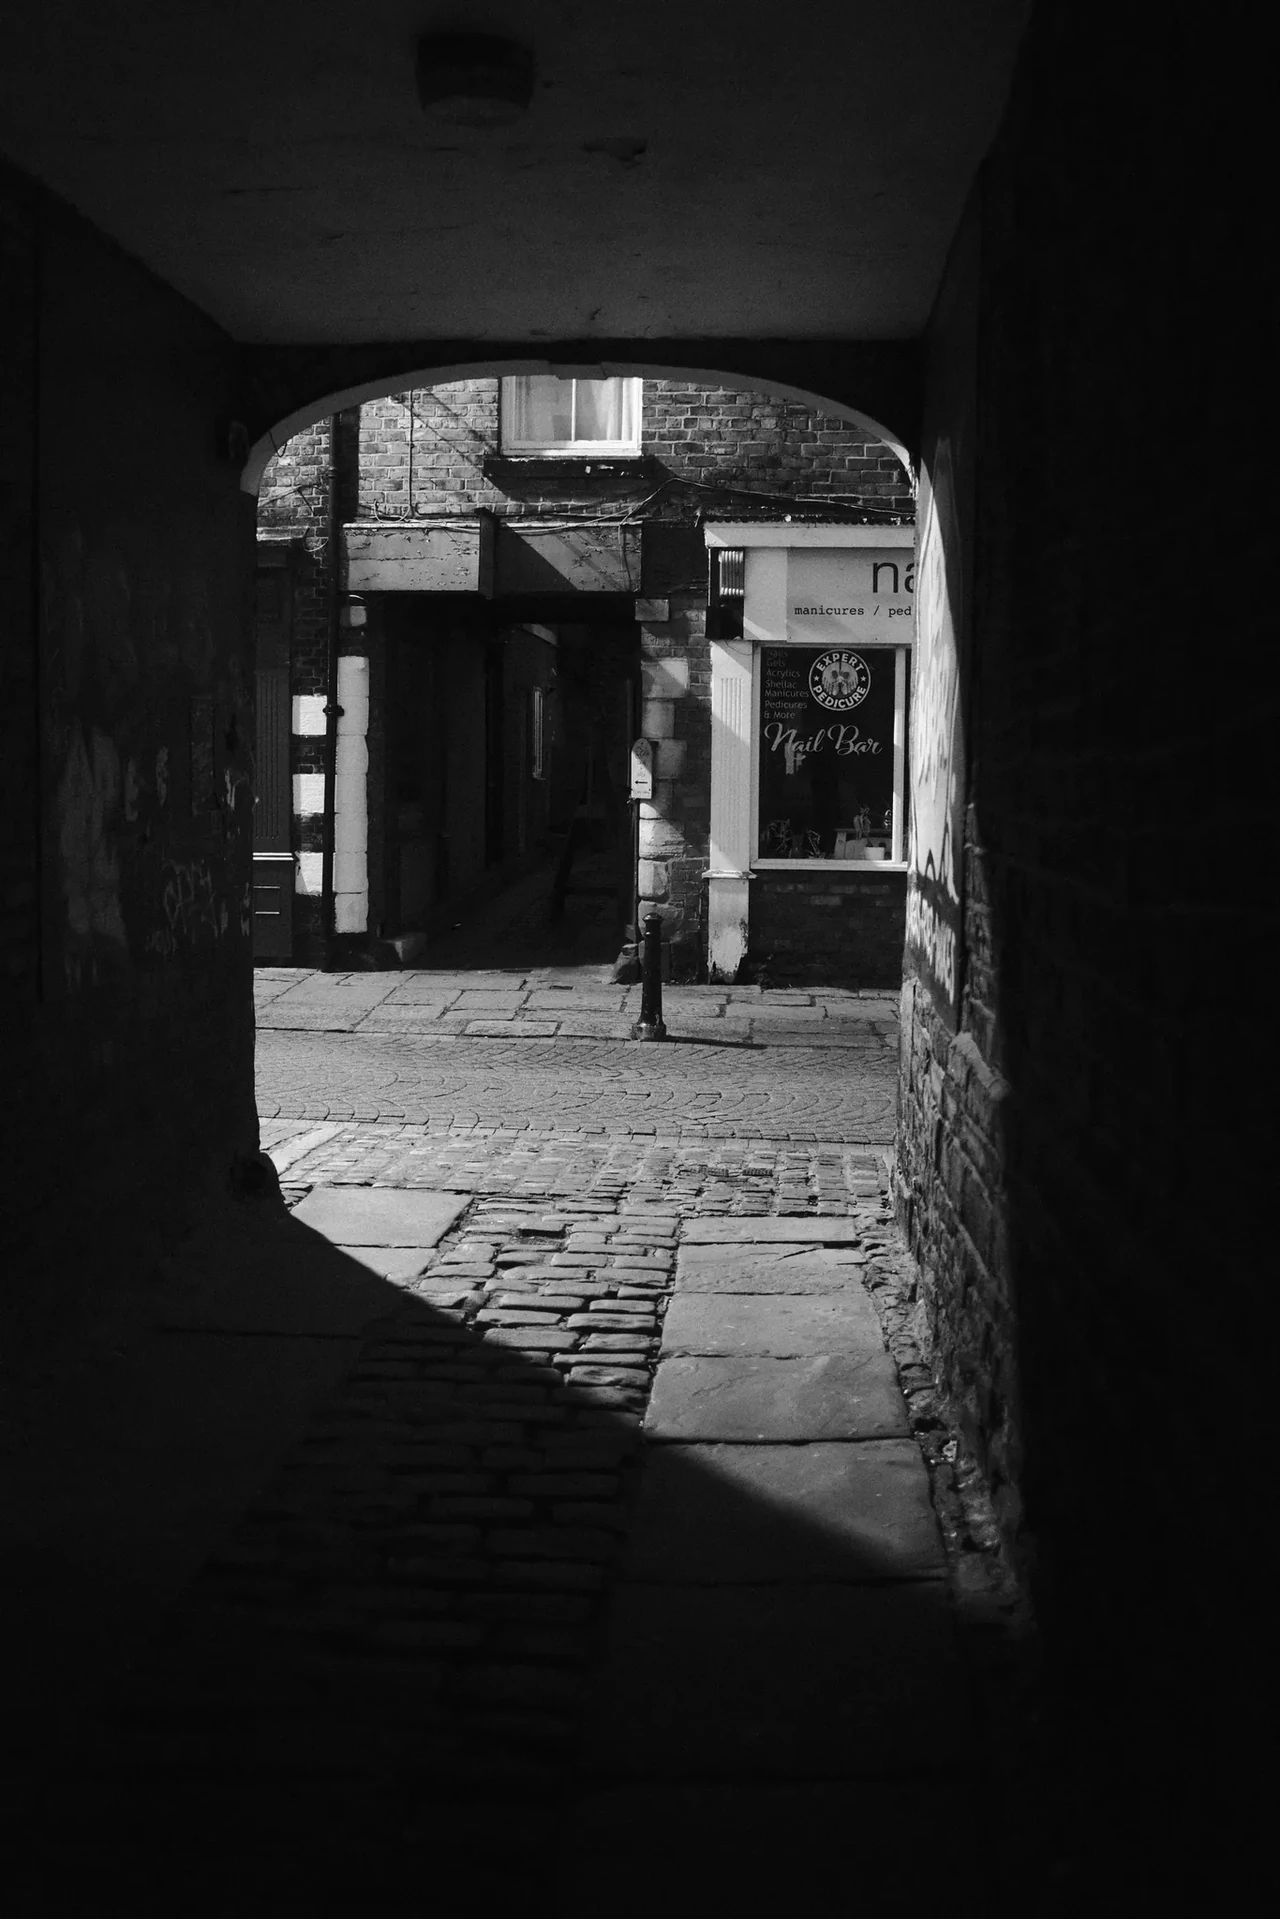
Start with a vertical edge
Use a stationary subject with a clear edge in good light. Place that edge in the focusing patch and turn the ring until the displaced views coincide. The M11 manual describes both superimposed-image and split-image methods. The diagram below is a simplified explanation of alignment, not a camera calibration tool.
Begin at a comfortable middle distance. Move the ring away from focus and return to the edge ten times. There is no prize for doing it at maximum aperture in a badly lit cupboard. Get a repeatable action before adding difficulty.
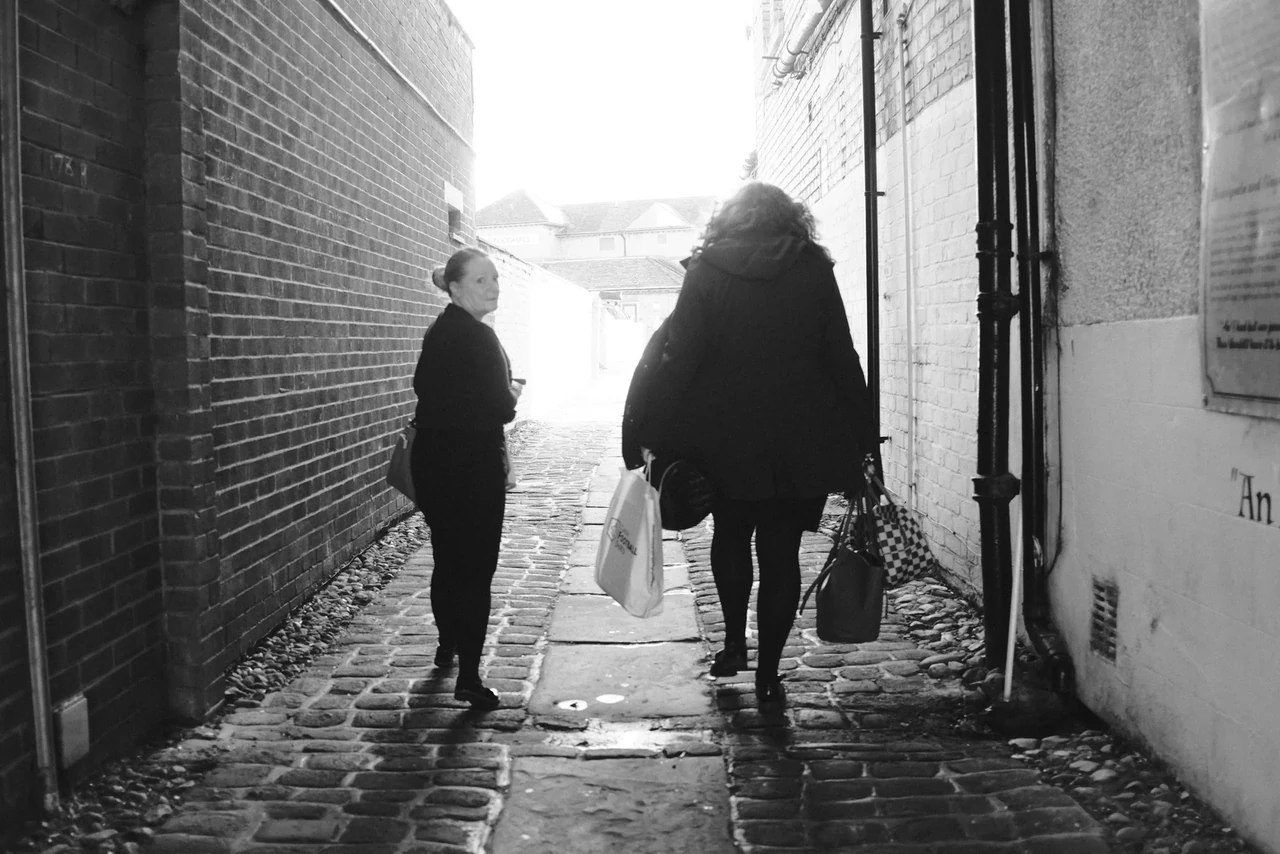
The background is already working
The bright opening pulls the eye through a darker passage. People crossing that route supply changing silhouettes and overlaps. Look at the gap between the two larger figures. You can understand the composition without knowing their destination, their names or the camera settings.
Figures in the Cobbled Passage · Photograph © Mark C GrantChange distance without chasing
Choose three safe static targets at different distances. Focus near, then far, then middle. Keep your stance steady. Learn the direction and amount of ring travel. Some lenses have a tab that makes position easier to feel; a tab is useful feedback, not an automatic distance scale.
Take a frame at each target and inspect the result at a sensible size. A sharp background behind a soft intended subject suggests misplaced focus. Everything smeared in a similar direction suggests camera movement. A moving person alone can blur even when the wall is sharp. Keep those diagnoses separate.
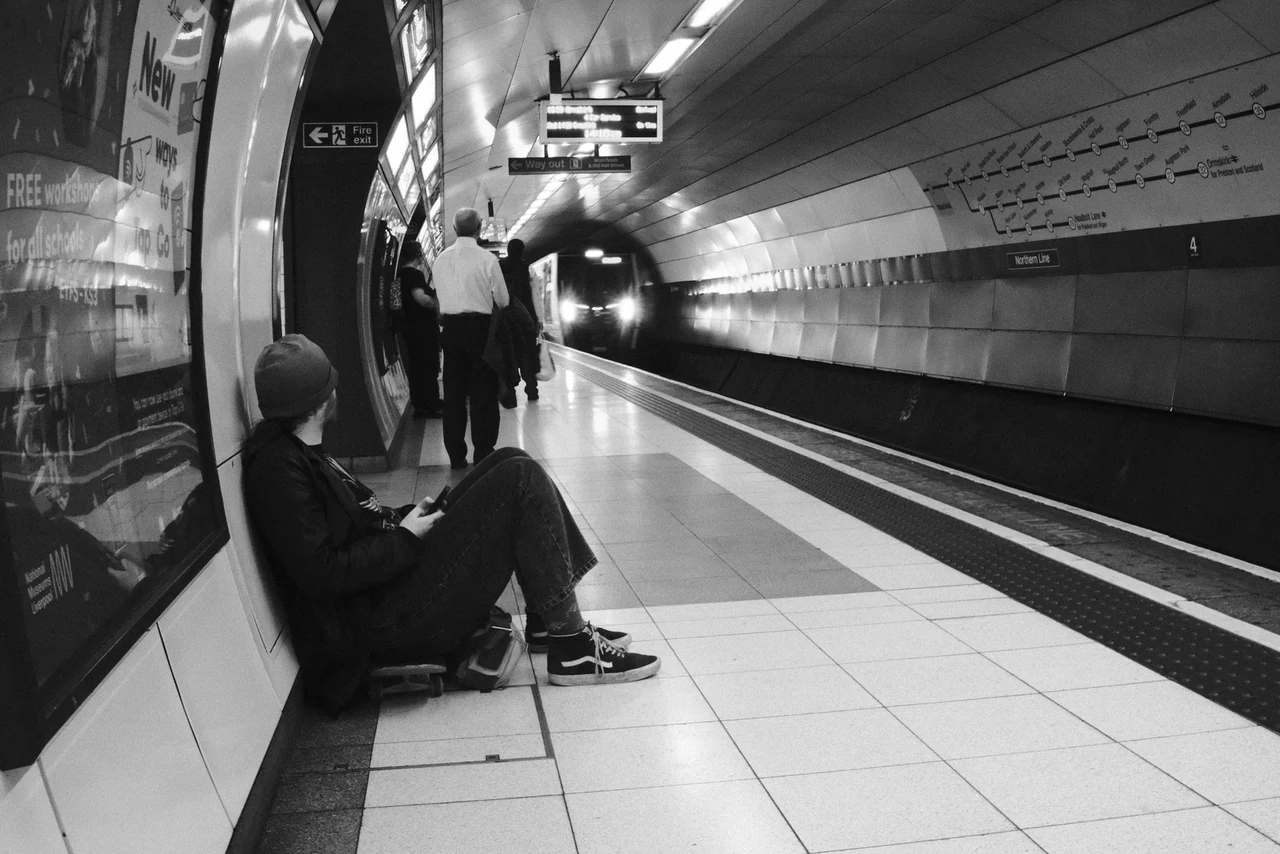
A still figure, an approaching light
The seated passenger and the approaching train set up different kinds of time. One holds still while the other advances. The platform lines connect them. Notice how little information the dark tunnel needs to contain: the approaching light already gives that darkness a purpose.
Waiting at Moorfields · Photograph © Mark C GrantWatch, then try
Leica M Rangefinder Focusing Tips and Tricks

Start with the patch demonstration, then compare zone focusing at 4:33 with distance estimation at 7:41. Which decisions can you make before lifting the camera?
Focus and composition have to cooperate
A central patch invites you to put every subject in the middle. You can focus, then reframe, but a large change of camera angle at close distance and shallow depth of field can shift what is acceptably sharp. Test the actual combination you use. Allow more depth of field or use a sensor-view focusing aid when the task needs it.
For moving subjects, try focusing on a distance they will enter. Make the composition first. It is easier to wait for one useful crossing than to twist the focus ring while pursuing a stranger and losing the frame.
Know when to stop blaming yourself
If focus repeatedly falls in front of or behind a static target under controlled conditions, compare several attempts. Use a stable camera, adequate shutter speed and a clear target. On a digital body with live view, compare a carefully magnified sensor-view result where available.
Consistent disagreement can deserve professional checking of the camera and lens. Do not start turning adjustment screws because a single moving photograph was soft. Nor should autofocus be treated as surrender. The point is a picture you meant to make.
Review your photographs
- Can you align the patch without repeatedly overshooting?
- Can you separate focus errors from motion blur in your nine frames?
- Can you keep the final composition after focusing?
If it is not working yet
If the background wins every time, slow down and confirm the intended edge. If the whole frame shakes, solve stability or shutter speed before judging the patch.
Sources & further looking
Facts checked 22 October 2026. The practical exercises and critical readings are this publication’s editorial interpretation.
Take this to the discussion.
A question, an example, a picture that proves us wrong. Specific beats loud.
Open the conversation ↗